
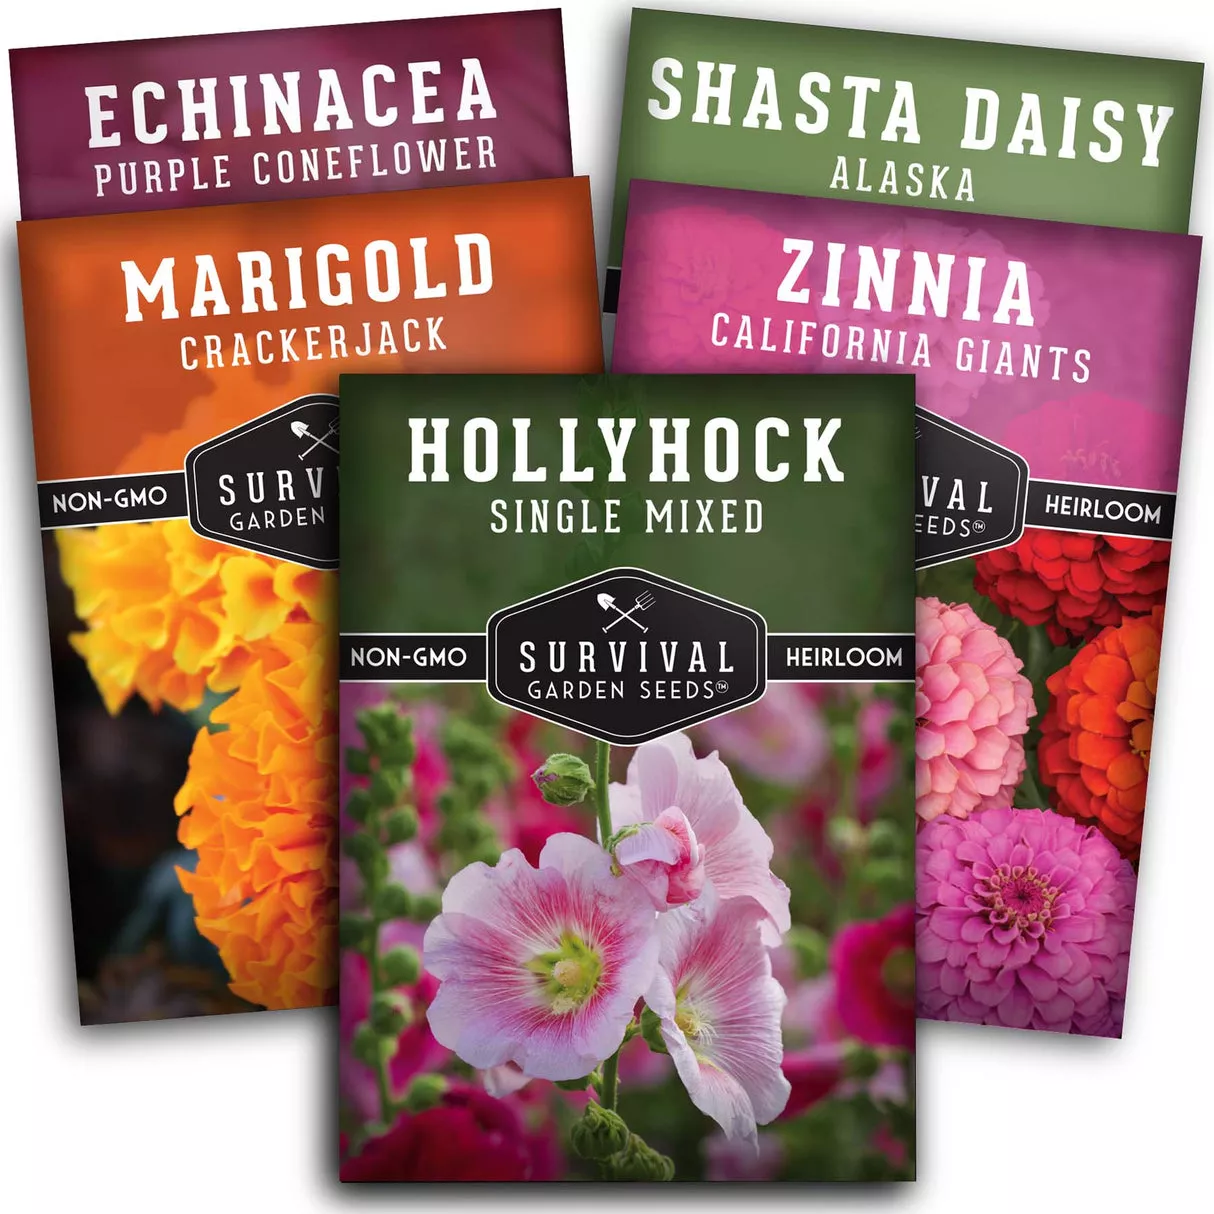
Hollyhock seeds can be harvested in late summer. Collect the seeds when the pods turn brown and dry.
Hollyhocks are beautiful biennial flowers that bring vibrant colors to gardens. To ensure a continuous display each year, gardeners can gather and store seeds for future planting. Harvesting hollyhock seeds is a simple process that involves waiting for the pods to mature and dry.
This usually happens in late summer when the seed pods turn brown. Collecting seeds at the right time ensures they are viable for planting. After gathering, store the seeds in a cool, dry place until ready for use. By doing this, you can enjoy the stunning blooms of hollyhocks year after year, adding charm and elegance to your garden.

Credit: harvesting-history.com
Introduction To Hollyhock Harvesting
Hollyhocks are beautiful, tall flowers that bring charm to any garden. To keep your garden blooming every year, gathering seeds from hollyhocks is vital.
Importance Of Seed Saving
Saving seeds helps gardeners in many ways. First, it saves money as you don’t need to buy new seeds. Second, it ensures the same beautiful flowers grow every year. Third, it helps preserve unique plant varieties.
Seed saving is good for the environment. It reduces the need for commercial seed production. This practice also supports biodiversity in gardens.
Overview Of Hollyhocks
Hollyhocks are known for their tall stems and colorful blooms. They come in many colors like pink, red, white, and yellow. These flowers can grow up to 8 feet tall.
Hollyhocks are biennial plants. They grow leaves in the first year and bloom in the second. These flowers attract bees and butterflies, making gardens lively.
Hollyhocks prefer sunny spots and well-drained soil. They are easy to grow from seeds. Once established, they need little care.
| Feature | Details |
|---|---|
| Height | Up to 8 feet |
| Colors | Pink, Red, White, Yellow |
| Type | Biennial |
| Preferred Soil | Well-drained |
Harvesting hollyhock seeds is simple. Wait until the flower petals fall off. The seed pods will turn brown and dry. Then, you can collect the seeds and store them.
Follow these steps to gather hollyhock seeds:
- Wait for the flowers to fade and seed pods to dry.
- Collect the dry seed pods.
- Open the pods and remove the seeds.
- Store seeds in a cool, dry place.
With these steps, you can enjoy hollyhocks in your garden every year.
When To Harvest Hollyhock Seeds
Knowing when to harvest hollyhock seeds is vital for future blooms. Timing ensures seed viability and successful germination. Below, learn to identify mature seeds and the best times to gather them.
Identifying Mature Seeds
Recognize mature seeds by their color and texture. Mature hollyhock seeds are usually dark brown or black. They feel hard and dry to the touch.
Check the seed pods for dryness. Dry pods often crack open easily. Inside, the seeds should be loose and easily removed.
Use the table below to identify mature seeds:
| Seed Pod Condition | Seed Color | Seed Texture |
|---|---|---|
| Dry and cracking | Dark brown or black | Hard and dry |
| Green or moist | Light brown or green | Soft and moist |
Optimal Harvesting Times
Harvest hollyhock seeds in late summer or early fall. Look for dry, brown seed pods ready to crack open.
Avoid harvesting during wet or rainy days. Moisture can cause mold on the seeds.
Follow these steps for optimal harvesting:
- Inspect the plants daily for dry pods.
- Use scissors to cut the pods from the stems.
- Place the pods in a paper bag for further drying.
- Store seeds in a cool, dry place.
Proper timing and careful handling ensure healthy hollyhock seeds for next season’s garden.
Tools And Materials Needed
Gathering seeds from your hollyhocks is a rewarding task. It ensures a beautiful garden year after year. Having the right tools and materials can make this process easy and efficient. Here are the essentials and extra supplies you’ll need.
Essential Tools
- Pruning Shears: Essential for cutting seed pods.
- Gloves: Protect your hands from dirt and sharp edges.
- Paper Bags: Ideal for collecting and drying seeds.
- Labels: Use these to mark different seed varieties.
Additional Supplies
- Small Paintbrush: Helps in cleaning and sorting seeds.
- Magnifying Glass: Useful for inspecting seed quality.
- Storage Containers: Keep seeds safe for future planting.
- Notebook: Record details about your seeds and plants.
Having these tools and materials ensures a smooth and successful hollyhock seed harvest. Happy gardening!
Step-by-step Harvesting Process
Gathering seeds from hollyhocks is a rewarding task. It’s simple and fun! Follow these steps to ensure your future garden blooms beautifully.
Preparation Steps
Begin by collecting the right tools. You will need:
- Garden gloves
- Scissors or pruners
- Paper bags or envelopes
- Labels or markers
Ensure the hollyhock flowers are dry. This makes seed collection easier. Choose a sunny day for harvesting. Wet seeds can mold.
Collecting Seeds
Look for seed pods on the hollyhock plant. The pods are brown and dry. They should be easy to spot.
- Put on your garden gloves.
- Carefully cut the seed pods using scissors.
- Place the pods into paper bags or envelopes.
- Label the bags with the date and type of hollyhock.
Once collected, store the seeds in a cool, dry place. This keeps them viable for planting next year.
| Tools Needed | Steps |
|---|---|
| Garden gloves, scissors, paper bags | Cut pods, store in bags, label |
This step-by-step guide makes seed collecting easy. Your next garden will be full of vibrant hollyhocks!
Cleaning And Drying Hollyhock Seeds
Harvesting hollyhock seeds ensures a vibrant garden next year. Proper cleaning and drying are crucial steps. They help in preserving the seeds’ viability. Let’s delve into the cleaning techniques and proper drying methods.
Cleaning Techniques
After gathering hollyhock seeds, remove any debris. Use a fine mesh sieve to separate seeds from chaff. Gently shake the sieve. The smaller particles will fall through. Larger debris can be picked out by hand.
For stubborn chaff, use a fan or blow dryer. Set it to low speed. Hold it over the seeds. The light debris will blow away. The heavier seeds will remain.
Here’s a quick step-by-step guide:
- Gather seeds and remove larger debris by hand.
- Place seeds in a fine mesh sieve.
- Shake to separate smaller particles.
- Use a fan to blow away remaining chaff.
Proper Drying Methods
Drying the seeds prevents mold growth. Spread the seeds on a paper towel. Ensure they are in a single layer. Place them in a warm, dry area. Keep them away from direct sunlight.
Allow the seeds to dry for at least a week. Stir them daily to ensure even drying. This helps in preventing moisture build-up.
Here’s a simple drying table for reference:
| Step | Description |
|---|---|
| 1 | Spread seeds on a paper towel. |
| 2 | Place in a warm, dry area. |
| 3 | Stir daily to ensure even drying. |
| 4 | Dry for at least one week. |
Once dry, store seeds in an airtight container. Label it with the date and type. Keep the container in a cool, dark place. This ensures seeds remain viable for future planting.
Storing Hollyhock Seeds
Gathering seeds from your hollyhock plants is a rewarding task. Properly storing these seeds ensures they remain viable for future planting. Let’s explore the best ways to store hollyhock seeds.
Storage Containers
Choosing the right storage containers is crucial for seed preservation. Use airtight containers to keep moisture out. Glass jars with tight lids work well. Small paper envelopes can also be used for short-term storage.
Label each container with the seed type and date. This helps track seed age and planting time.
Ideal Storage Conditions
Maintaining the ideal storage conditions extends seed life. Store seeds in a cool, dark place. A temperature of 32-41°F (0-5°C) is best. Humidity should be low, around 20-30%.
A refrigerator can provide the perfect environment. Just ensure seeds are in airtight containers to prevent moisture exposure.
| Storage Tip | Description |
|---|---|
| Airtight Containers | Prevents moisture and keeps seeds dry. |
| Cool Temperature | Ideal range: 32-41°F (0-5°C). |
| Low Humidity | Keep humidity around 20-30%. |
| Labeling | Include seed type and date on labels. |
Testing Seed Viability
Testing seed viability is crucial for ensuring a bountiful Hollyhock harvest. By testing the seeds, gardeners can determine if the seeds will germinate and grow. This process helps in planning future gardens with confidence.
Germination Tests
Germination tests are simple and effective. Follow these steps to test Hollyhock seeds:
- Take a paper towel and dampen it with water.
- Place ten Hollyhock seeds evenly on the towel.
- Fold the towel to cover the seeds.
- Put the towel inside a plastic bag to retain moisture.
- Leave the bag in a warm, sunny place for one week.
After a week, check the seeds for sprouts. Count the number of seeds that have sprouted. If 8 out of 10 seeds sprout, the germination rate is 80%. Aim for a germination rate of 70% or higher.
Assessing Seed Quality
Assessing seed quality is vital for a successful Hollyhock garden. High-quality seeds lead to strong and healthy plants. Use these tips to assess seed quality:
- Appearance: Healthy seeds are plump and firm. Avoid seeds that are shriveled or discolored.
- Touch: Gently squeeze the seeds. Good seeds should not crumble or feel soft.
- Color: Quality seeds have a consistent color. Watch out for seeds with spots or mold.
Use a magnifying glass to inspect the seeds closely. Look for any signs of damage or disease. Healthy seeds should have a smooth surface and uniform shape.
| Criteria | Healthy Seeds | Unhealthy Seeds |
|---|---|---|
| Appearance | Plump, Firm | Shriveled, Discolored |
| Touch | Not Crumble | Soft, Crumbles |
| Color | Consistent | Spots, Mold |
By performing these tests, you can ensure your Hollyhock seeds are viable and ready for planting. Healthy seeds will lead to a vibrant and flourishing garden.

Credit: www.facebook.com
Planting Saved Hollyhock Seeds
Hollyhocks are beautiful, tall flowers that can brighten any garden. Saving and planting hollyhock seeds ensures these lovely blooms return year after year. This guide will help you plant saved hollyhock seeds effectively.
Preparing The Soil
Good soil is key for healthy hollyhocks. Start by choosing a sunny spot in your garden. Hollyhocks love full sun. The soil should be well-drained and rich in organic matter.
Follow these steps to prepare the soil:
- Clear any weeds or debris from the area.
- Loosen the soil with a garden fork or tiller.
- Mix in compost or aged manure to enrich the soil.
- Ensure the soil is slightly moist but not waterlogged.
Planting Techniques
Planting hollyhock seeds is simple. Follow these steps:
- Sow seeds directly into the prepared soil.
- Space seeds about 12 inches apart.
- Cover the seeds lightly with soil, about 1/4 inch deep.
- Water the area gently to keep the soil moist.
- Keep an eye on the seedlings as they grow.
For best results, plant hollyhock seeds in early spring. This gives them enough time to establish before blooming season.
Use these tips to ensure your hollyhock seeds grow into strong, beautiful plants. Happy gardening!
Common Issues And Troubleshooting
Hollyhock harvesting can be a joyful experience. But gardeners sometimes face problems. Let’s dive into some common issues and solutions.
Pest And Disease Management
Hollyhocks attract pests. Common pests include aphids and spider mites. To manage these pests, try using insecticidal soap. Spray it on the affected areas. Another solution is introducing ladybugs. They eat aphids and keep plants healthy.
Hollyhocks are also prone to diseases. Rust fungus is a major problem. It shows as orange spots on leaves. To control rust, remove infected leaves immediately. Use a fungicide to prevent its spread. Water plants at the base to keep leaves dry.
| Pest | Solution |
|---|---|
| Aphids | Insecticidal soap or ladybugs |
| Spider Mites | Insecticidal soap |
| Rust Fungus | Remove leaves and use fungicide |
Addressing Poor Germination
Poor germination can be frustrating. Ensure seeds are fresh. Old seeds may not sprout. Check the planting depth. Seeds should be just below the soil surface.
Another tip is to keep the soil moist. Dry soil can prevent germination. Use a spray bottle to mist the soil lightly. Ensure the soil temperature is right. Hollyhock seeds prefer warm soil.
- Use fresh seeds.
- Plant seeds just below the soil surface.
- Keep the soil moist.
- Ensure the soil temperature is warm.
By following these tips, you can improve germination rates.
Benefits Of Saving Hollyhock Seeds
Saving hollyhock seeds offers numerous benefits for gardeners. It ensures you have a steady supply of seeds for future gardens. This practice supports both your wallet and the environment. Discover the advantages of saving hollyhock seeds below.
Cost-effective Gardening
Saving hollyhock seeds is a cost-effective gardening method. It reduces the need to buy new seeds every year. This simple practice can save you a significant amount of money. Here are some key points:
- Free seeds for the next planting season.
- No need to visit the garden center often.
- Financial savings over time add up.
Environmental Impact
Saving seeds also has a positive environmental impact. It helps maintain plant diversity and reduces waste. Here are the environmental benefits:
- Less packaging waste from store-bought seeds.
- Conservation of plant species.
- Reduced carbon footprint from fewer trips to the store.
| Benefits | Details |
|---|---|
| Cost-Effective Gardening | Free seeds, less shopping, more savings |
| Environmental Impact | Less waste, species conservation, reduced carbon footprint |

Credit: www.amazon.com
Frequently Asked Questions
How Do You Harvest Hollyhock Seeds?
To harvest hollyhock seeds, wait until the seed pods turn brown. Gently open the pods and collect the seeds. Ensure they are fully dry before storing.
When Is The Best Time To Collect Hollyhock Seeds?
The best time to collect hollyhock seeds is late summer or early fall. The seed pods should be dry and brown.
Can Hollyhock Seeds Be Stored?
Yes, hollyhock seeds can be stored. Keep them in a cool, dry place. Use airtight containers for best results.
How To Prepare Hollyhock Seeds For Planting?
Before planting, soak hollyhock seeds in water overnight. This helps with germination. Plant them in well-drained soil.
Conclusion
Harvesting hollyhock seeds ensures vibrant blooms in future gardens. It’s a simple, rewarding process for gardeners. By gathering seeds, you preserve your favorite varieties. Start your seed collection today and enjoy endless garden beauty. Happy gardening!