Rubber plants thrive with bright, indirect light and minimal watering. They prefer well-draining soil and moderate humidity.
Rubber plants, scientifically known as Ficus elastica, are popular indoor plants due to their attractive, glossy leaves and low-maintenance care. These versatile plants can adapt to various environments, making them ideal for both homes and offices. Proper care involves providing the right light, water, and soil conditions.
Regularly wiping the leaves keeps them dust-free and vibrant. Pruning helps maintain their shape and encourages healthy growth. Rubber plants also act as natural air purifiers, improving indoor air quality. With the right care, your rubber plant can grow into a stunning, lush focal point in any space.

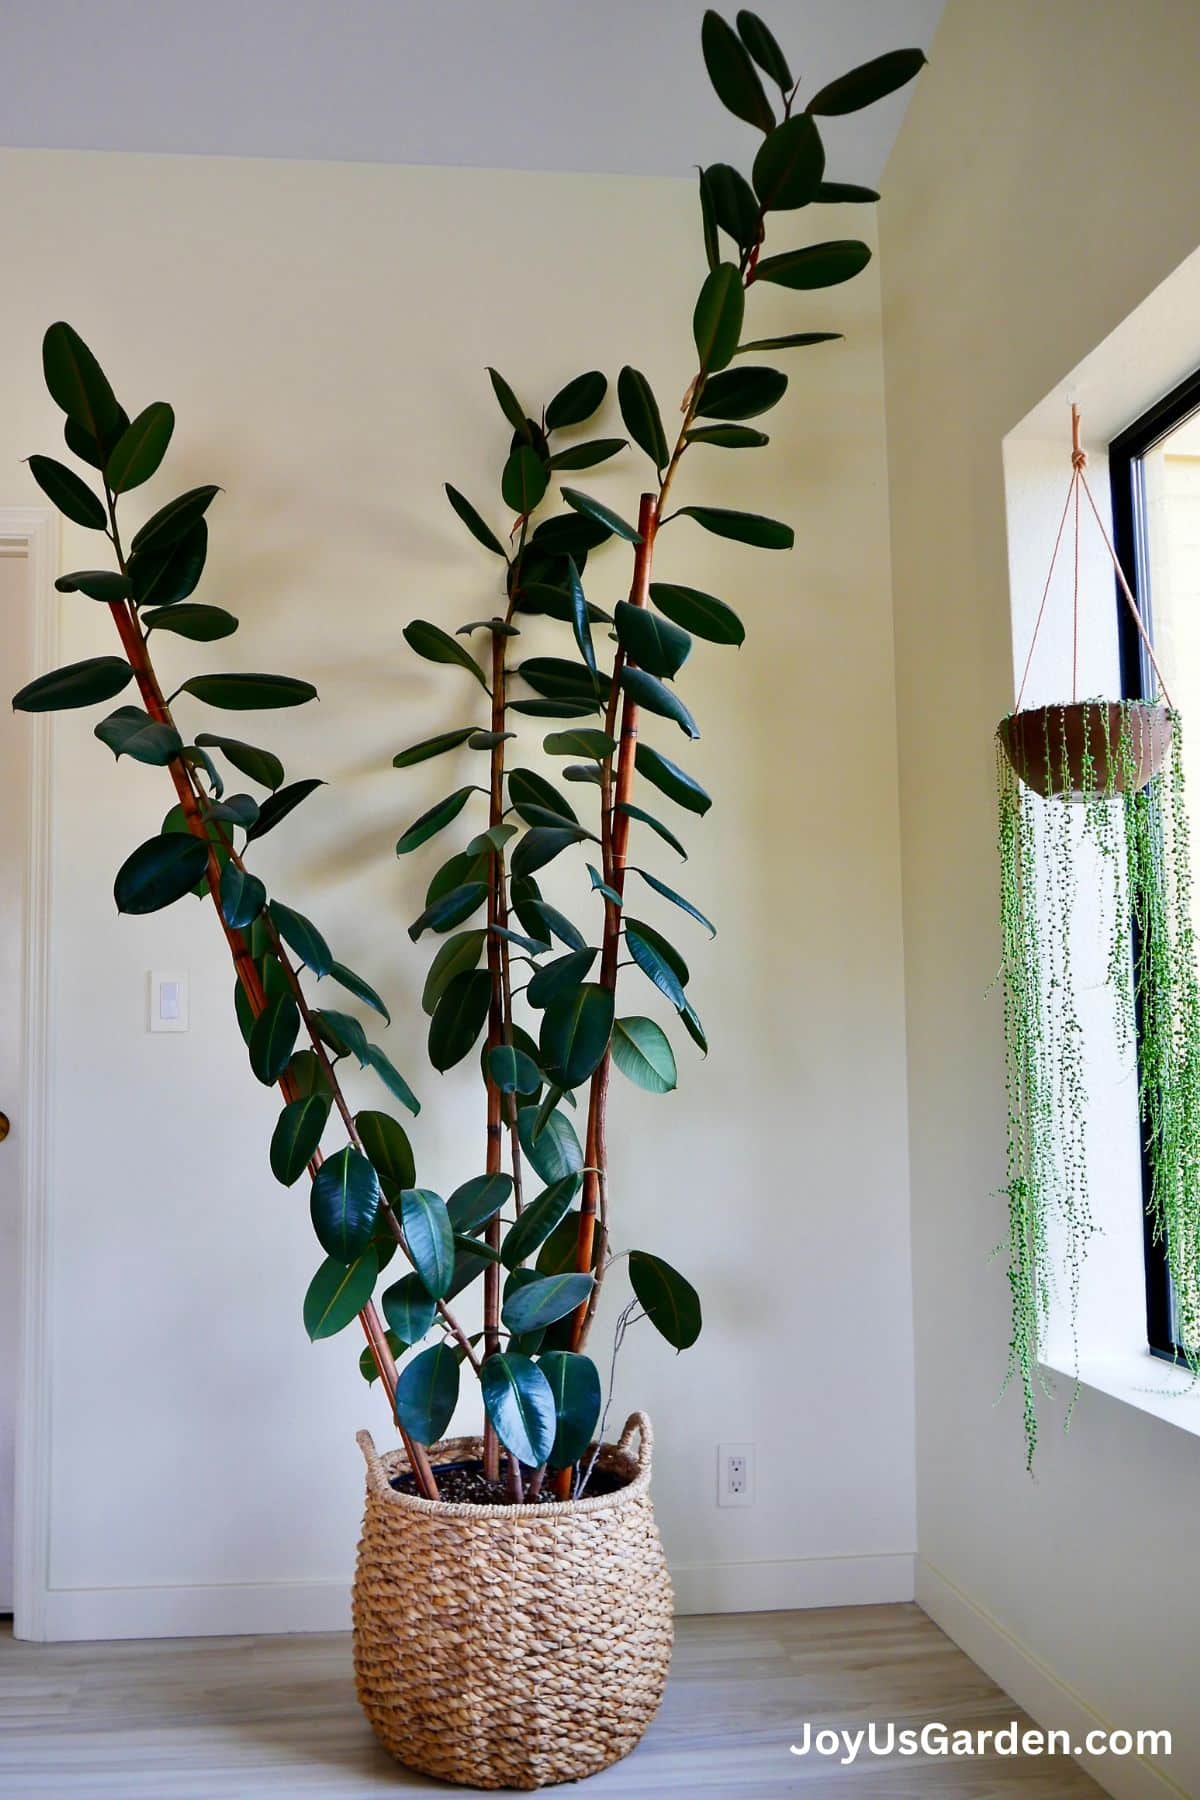
Credit: www.joyusgarden.com
Introduction To Rubber Plants
Rubber plants are popular houseplants known for their large, glossy leaves. These plants are easy to care for and can thrive indoors. They add a touch of greenery and elegance to any room.
Brief History
The rubber plant, or Ficus elastica, originates from Southeast Asia. These plants were first discovered in tropical rainforests. They were used for their latex, which produces rubber. Over time, they became popular as ornamental plants.
Popularity In Homes
Rubber plants are widely loved as houseplants. They are known for their striking appearance. Their broad leaves can grow up to 12 inches long. These plants can also improve indoor air quality.
Here are some reasons why rubber plants are popular:
- Low Maintenance: They require minimal care.
- Air Purifying: They help remove toxins from the air.
- Versatile: They fit well in any room decor.

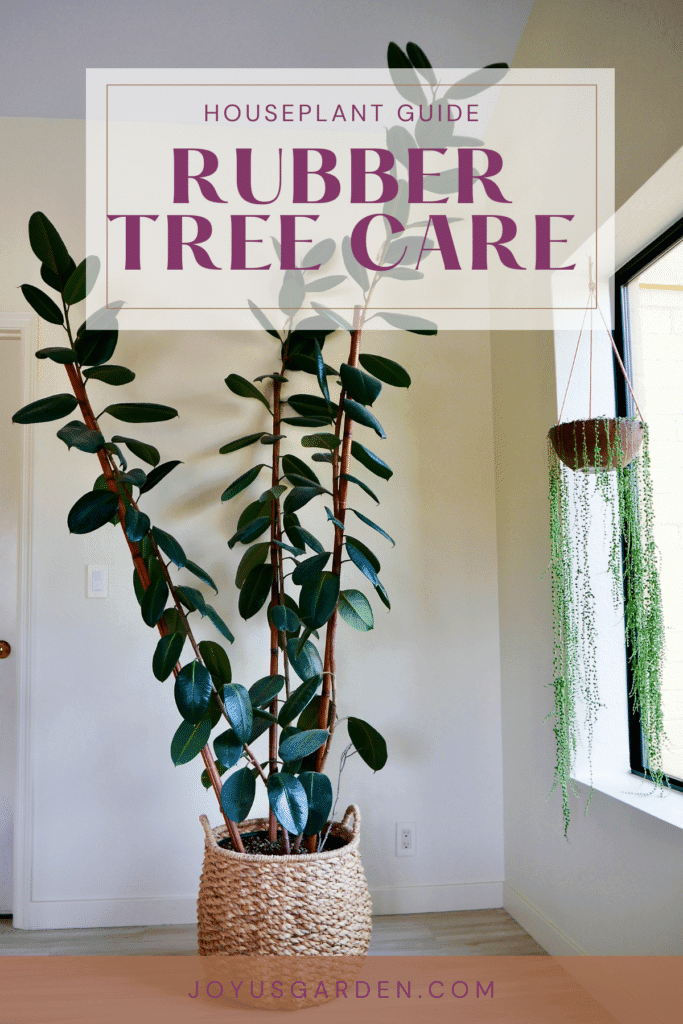
Credit: www.joyusgarden.com
Choosing The Right Location
Choosing the right location is crucial for the health of your rubber plant. The proper light and temperature can make a significant difference. Let’s dive into the essentials for creating the perfect environment.
Light Requirements
Rubber plants thrive in bright, indirect light. Direct sunlight can scorch their leaves. Find a spot where they can get filtered light. Place them near a window with sheer curtains. This helps to diffuse the light. If the plant gets too little light, its growth may slow down. Leaves might also drop. Artificial light can also work if natural light is scarce. Use fluorescent or grow lights for best results.
Temperature Preferences
Rubber plants prefer warm temperatures. They do best between 60°F and 75°F. Avoid placing them near drafts or sudden temperature changes. Cold drafts can cause leaf drop. Ensure the room has consistent warmth. A stable environment promotes healthy growth. High humidity is also beneficial. Mist the leaves occasionally or use a humidifier. This keeps the plant happy and thriving.
Watering Guidelines
Proper watering is essential for the health of your rubber plant. Understanding how much and how often to water your plant can make a significant difference. Below are some detailed guidelines on how to water your rubber tree plant effectively.
Frequency Of Watering
Rubber plants need a balanced watering schedule. Water your rubber plant every 1-2 weeks. Check the top inch of soil. If it’s dry, it’s time to water.
During the growing season (spring and summer), the plant may need more water. Adjust your watering frequency based on the plant’s needs. In the dormant season (fall and winter), reduce the watering frequency.
| Season | Watering Frequency |
|---|---|
| Spring & Summer | Every 1 week |
| Fall & Winter | Every 2 weeks |
Signs Of Overwatering
Overwatering can harm your rubber plant. Look for these signs:
- Yellowing leaves
- Droopy leaves
- Root rot
Yellow leaves indicate too much water. Droopy leaves can mean the roots are drowning. Root rot is a serious issue; it can kill the plant. To avoid this, ensure proper drainage. Always use a pot with drainage holes.
If you see these signs, reduce your watering frequency. Let the soil dry out before watering again. Correcting overwatering early can save your plant.
Soil And Potting
Caring for your rubber plant involves understanding the right soil and potting techniques. The rubber plant, also known as Ficus elastica, thrives best when provided with the appropriate soil mix and a well-suited pot. This ensures the plant’s roots have the right environment to grow and flourish.
Ideal Soil Mix
The ideal soil mix for rubber plants should be well-draining. This helps prevent root rot, which can be fatal for the plant. A good mix would include:
- One part peat
- One part pine bark
- One part perlite or coarse sand
This combination ensures the soil retains moisture without becoming waterlogged. The peat provides necessary nutrients, while the pine bark and perlite aid in drainage and aeration. Make sure the soil is slightly acidic to neutral, with a pH between 5.5 and 7.0.
Choosing The Right Pot
Choosing the right pot is crucial for the health of your rubber plant. The pot should have drainage holes to allow excess water to escape. This prevents water from pooling at the bottom and causing root rot.
| Pot Material | Benefits |
|---|---|
| Terracotta | Porous; allows air and moisture to pass through |
| Plastic | Lightweight; retains moisture longer |
| Ceramic | Heavy; stable and decorative |
Ensure the pot is one size larger than the current root ball. This gives the roots room to grow. Repotting should be done every 2-3 years or when the plant becomes root-bound. Always add a layer of gravel or small stones at the bottom for extra drainage.
Remember, the right soil and potting choices can make a significant difference in the health and growth of your rubber plant. Following these guidelines will help your plant thrive.
Fertilizing Tips
Fertilizing your rubber plant is essential for its healthy growth. Proper nutrients ensure vibrant leaves and a robust root system. Here are some valuable tips to help you fertilize your rubber plant effectively.
Best Fertilizers
Choosing the right fertilizer is crucial for your rubber plant. Look for balanced fertilizers that provide equal amounts of nitrogen, phosphorus, and potassium. Here are some options:
- Liquid Fertilizers: Easy to mix with water and apply.
- Granular Fertilizers: Slow-release, providing nutrients over time.
- Organic Fertilizers: Derived from natural sources, eco-friendly.
For best results, use a balanced 10-10-10 or 20-20-20 fertilizer. These numbers represent the ratio of nitrogen, phosphorus, and potassium. Always follow the instructions on the fertilizer package.
Fertilizing Schedule
Establishing a fertilizing schedule helps your rubber plant thrive. Here’s a simple schedule to follow:
| Season | Frequency |
|---|---|
| Spring | Every 4 weeks |
| Summer | Every 4 weeks |
| Fall | Every 6-8 weeks |
| Winter | No fertilization |
During the growing season, fertilize every 4 weeks. Reduce to every 6-8 weeks in fall. Avoid fertilizing in winter when the plant is dormant.
Always water the plant before applying fertilizer. This prevents root burn and ensures even nutrient distribution. Use half the recommended dose for young plants or during the initial feeding.
By following these tips, you will provide your rubber plant with the nutrients it needs to grow strong and healthy.
Pruning And Shaping
Pruning and shaping are essential for healthy rubber plants. They help control size and promote growth. Proper pruning also encourages a fuller, bushier appearance.
When To Prune
Prune your rubber plant in spring or early summer. These seasons are ideal for growth. Avoid pruning in winter. The plant is usually dormant during this time.
Tools Needed
Having the right tools makes pruning easier and safer. Here are the essentials:
- Sharp Pruning Shears: For clean cuts.
- Gloves: To protect your hands from sap.
- Rubbing Alcohol: To sterilize the shears.
Always clean your tools before and after use. This prevents disease spread.
| Tool | Purpose |
|---|---|
| Sharp Pruning Shears | For clean, precise cuts. |
| Gloves | Protect hands from sap. |
| Rubbing Alcohol | Sterilize tools to prevent disease. |
Pruning your rubber plant ensures it stays healthy and beautiful. Follow these steps for the best results.
Common Pests And Diseases
The rubber plant, also known as Ficus elastica, is a popular houseplant. It adds beauty to any indoor space. But, like all plants, it can face pest and disease issues. Knowing how to identify and treat these problems is key to keeping your rubber plant healthy.
Identifying Pests
Rubber plants can attract various pests. The most common ones include:
- Spider Mites: Tiny, red or yellow spots on leaves indicate their presence.
- Mealybugs: White, cotton-like masses on leaves and stems.
- Scale Insects: Small, brown or black bumps on stems and leaves.
- Aphids: Small, green or black insects on new growth.
Regularly inspect your rubber plant for these pests. Early detection is crucial.
Treatment Options
Treating pests on rubber plants can be straightforward. Here are some effective options:
- Spider Mites: Wash the leaves with soapy water. Use insecticidal soap if needed.
- Mealybugs: Wipe them off with a cotton swab dipped in rubbing alcohol.
- Scale Insects: Gently scrape them off with a soft brush. Apply neem oil for severe infestations.
- Aphids: Spray the plant with water to dislodge them. Use insecticidal soap for persistent problems.
For all pests, maintaining proper plant care helps prevent infestations. Ensure your rubber plant gets enough light and water.
Propagation Methods
Propagation is a fun way to grow more rubber plants. You can use two main methods: stem cuttings and air layering. Each method has its own steps and benefits. Let’s dive into each one!
Stem Cuttings
Stem cuttings are a popular way to propagate rubber plants. Follow these simple steps:
- Choose a healthy stem with at least two leaves.
- Use a sharp knife to cut a 6-inch piece.
- Remove the lower leaves from the cutting.
- Dip the cut end in rooting hormone powder.
- Plant the cutting in a pot with moist soil.
- Cover with a plastic bag to keep humidity high.
- Place in a warm, bright spot but not in direct sunlight.
Water the soil to keep it moist but not soggy. In a few weeks, roots will start to form. Once the roots are strong, you can move the new plant to a bigger pot.
Air Layering
Air layering is another effective way to propagate rubber plants. This method helps roots to grow while the stem is still attached to the parent plant. Follow these steps:
- Select a healthy, flexible stem.
- Make a small cut on the stem, about one-third through.
- Wrap the cut area with moist sphagnum moss.
- Cover the moss with plastic wrap and secure it with tape.
- Check the moss regularly to keep it moist.
After a few weeks, you will see new roots forming in the moss. Once the roots are well-developed, cut the stem below the new roots and plant it in a pot with soil.
| Propagation Method | Steps |
|---|---|
| Stem Cuttings |
|
| Air Layering |
|
Seasonal Care
Rubber plants, with their glossy leaves, thrive with proper seasonal care. Each season brings unique challenges and needs for your rubber plant. Understanding seasonal care ensures your rubber plant stays healthy year-round.
Winter Care
Winter can be tough for rubber plants. They need extra attention during this season.
- Light: Place your plant near a bright window. But avoid direct sunlight.
- Watering: Reduce watering. Allow the soil to dry between waterings.
- Humidity: Use a humidifier or mist the leaves. This helps maintain moisture.
- Temperature: Keep the temperature between 55-75°F (13-24°C). Avoid cold drafts.
Summer Tips
Summer is a growth period for rubber plants. Proper care ensures lush, vibrant leaves.
- Light: Provide bright, indirect sunlight. Too much sun can scorch the leaves.
- Watering: Increase watering frequency. Keep the soil consistently moist.
- Fertilizer: Feed the plant every month. Use a balanced, water-soluble fertilizer.
- Pruning: Trim back overgrown branches. This promotes healthy growth.
Regular monitoring and adjustments to care routines are key. Seasonal care helps your rubber plant thrive, regardless of the weather outside.

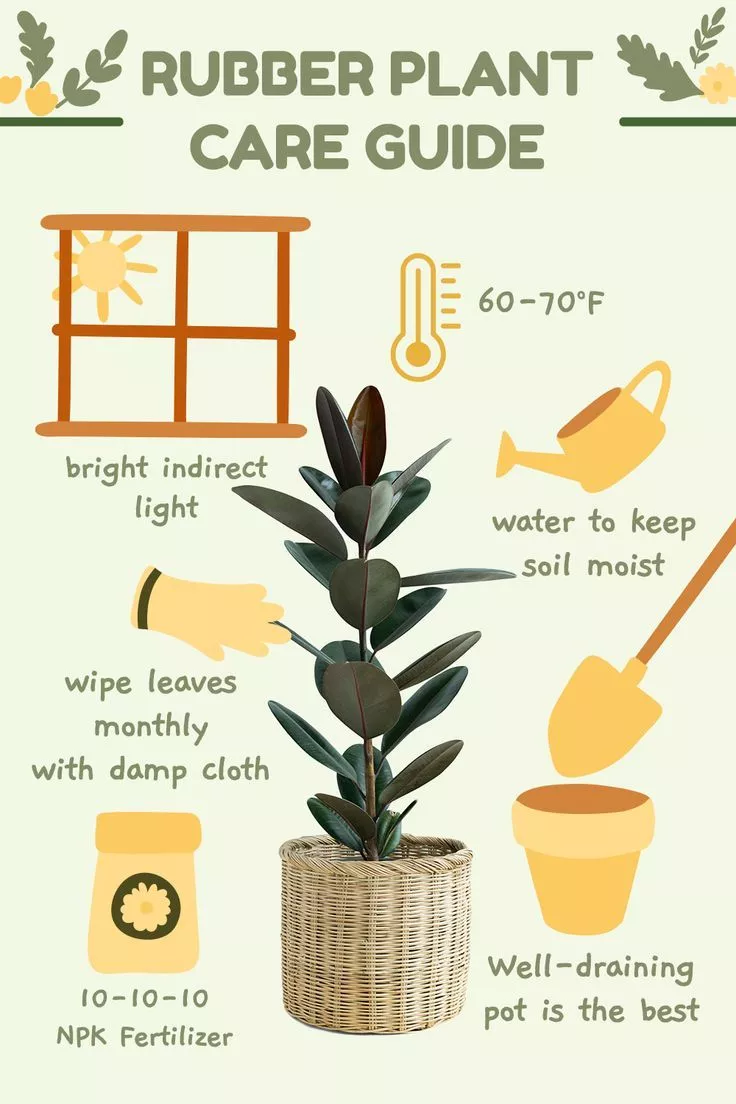
Credit: in.pinterest.com
Troubleshooting Problems
Caring for a rubber plant can be easy, but problems can arise. Here are some common issues and how to fix them.
Yellow Leaves
Yellow leaves on your rubber plant can be a sign of trouble. The most common cause is overwatering.
- Ensure the pot has proper drainage.
- Let the soil dry out between waterings.
- Check for pests like spider mites.
Another cause of yellow leaves is poor lighting. Rubber plants need bright, indirect light. Move the plant to a brighter spot but avoid direct sunlight.
Drooping Branches
Drooping branches can indicate that your rubber plant is stressed. This can be due to underwatering.
- Check the soil moisture level.
- Water the plant thoroughly if the soil is dry.
Another cause can be a lack of nutrients. Use a balanced fertilizer once a month during the growing season.
Lastly, check the temperature. Rubber plants prefer temperatures between 60-75°F (15-24°C). Avoid placing the plant near drafts or heaters.
Frequently Asked Questions
How Often Should I Water A Rubber Plant?
Water your rubber plant when the top inch of soil is dry. Overwatering can cause root rot. Ensure the pot has proper drainage. In winter, reduce watering frequency. Always use room temperature water. Consistent moisture is key.
What Kind Of Light Does A Rubber Tree Need?
Rubber trees prefer bright, indirect light. Direct sunlight can scorch leaves. Low light slows growth. Rotate the plant occasionally for even growth. They can tolerate some shade. Avoid placing near cold drafts.
How Do I Fertilize My Rubber Plant?
Fertilize your rubber plant every four weeks during spring and summer. Use a balanced, water-soluble fertilizer. Reduce feeding in fall and winter. Follow package instructions. Over-fertilizing can harm the plant. Healthy plants need nutrients.
Can I Propagate A Rubber Tree?
Yes, you can propagate rubber trees through cuttings. Take a healthy stem cutting. Use rooting hormone for best results. Place in moist soil or water. Keep in warm, indirect light. New roots should form in a few weeks.
Conclusion
Caring for a rubber plant is simple with the right knowledge. Ensure proper watering, light, and occasional pruning. Your rubber tree will thrive and enhance your space. Follow these tips to enjoy a healthy, vibrant plant. Happy gardening!


